前端
由于我对前端的若干技术几乎一无所知,并且仅作展示用,所以我使用streamlit来构建前端界面。很久以前就听说过streamlit,今天才发现它是如此的好用。
安装streamlit
pip install streamlit
验证安装成功:
streamlit hello
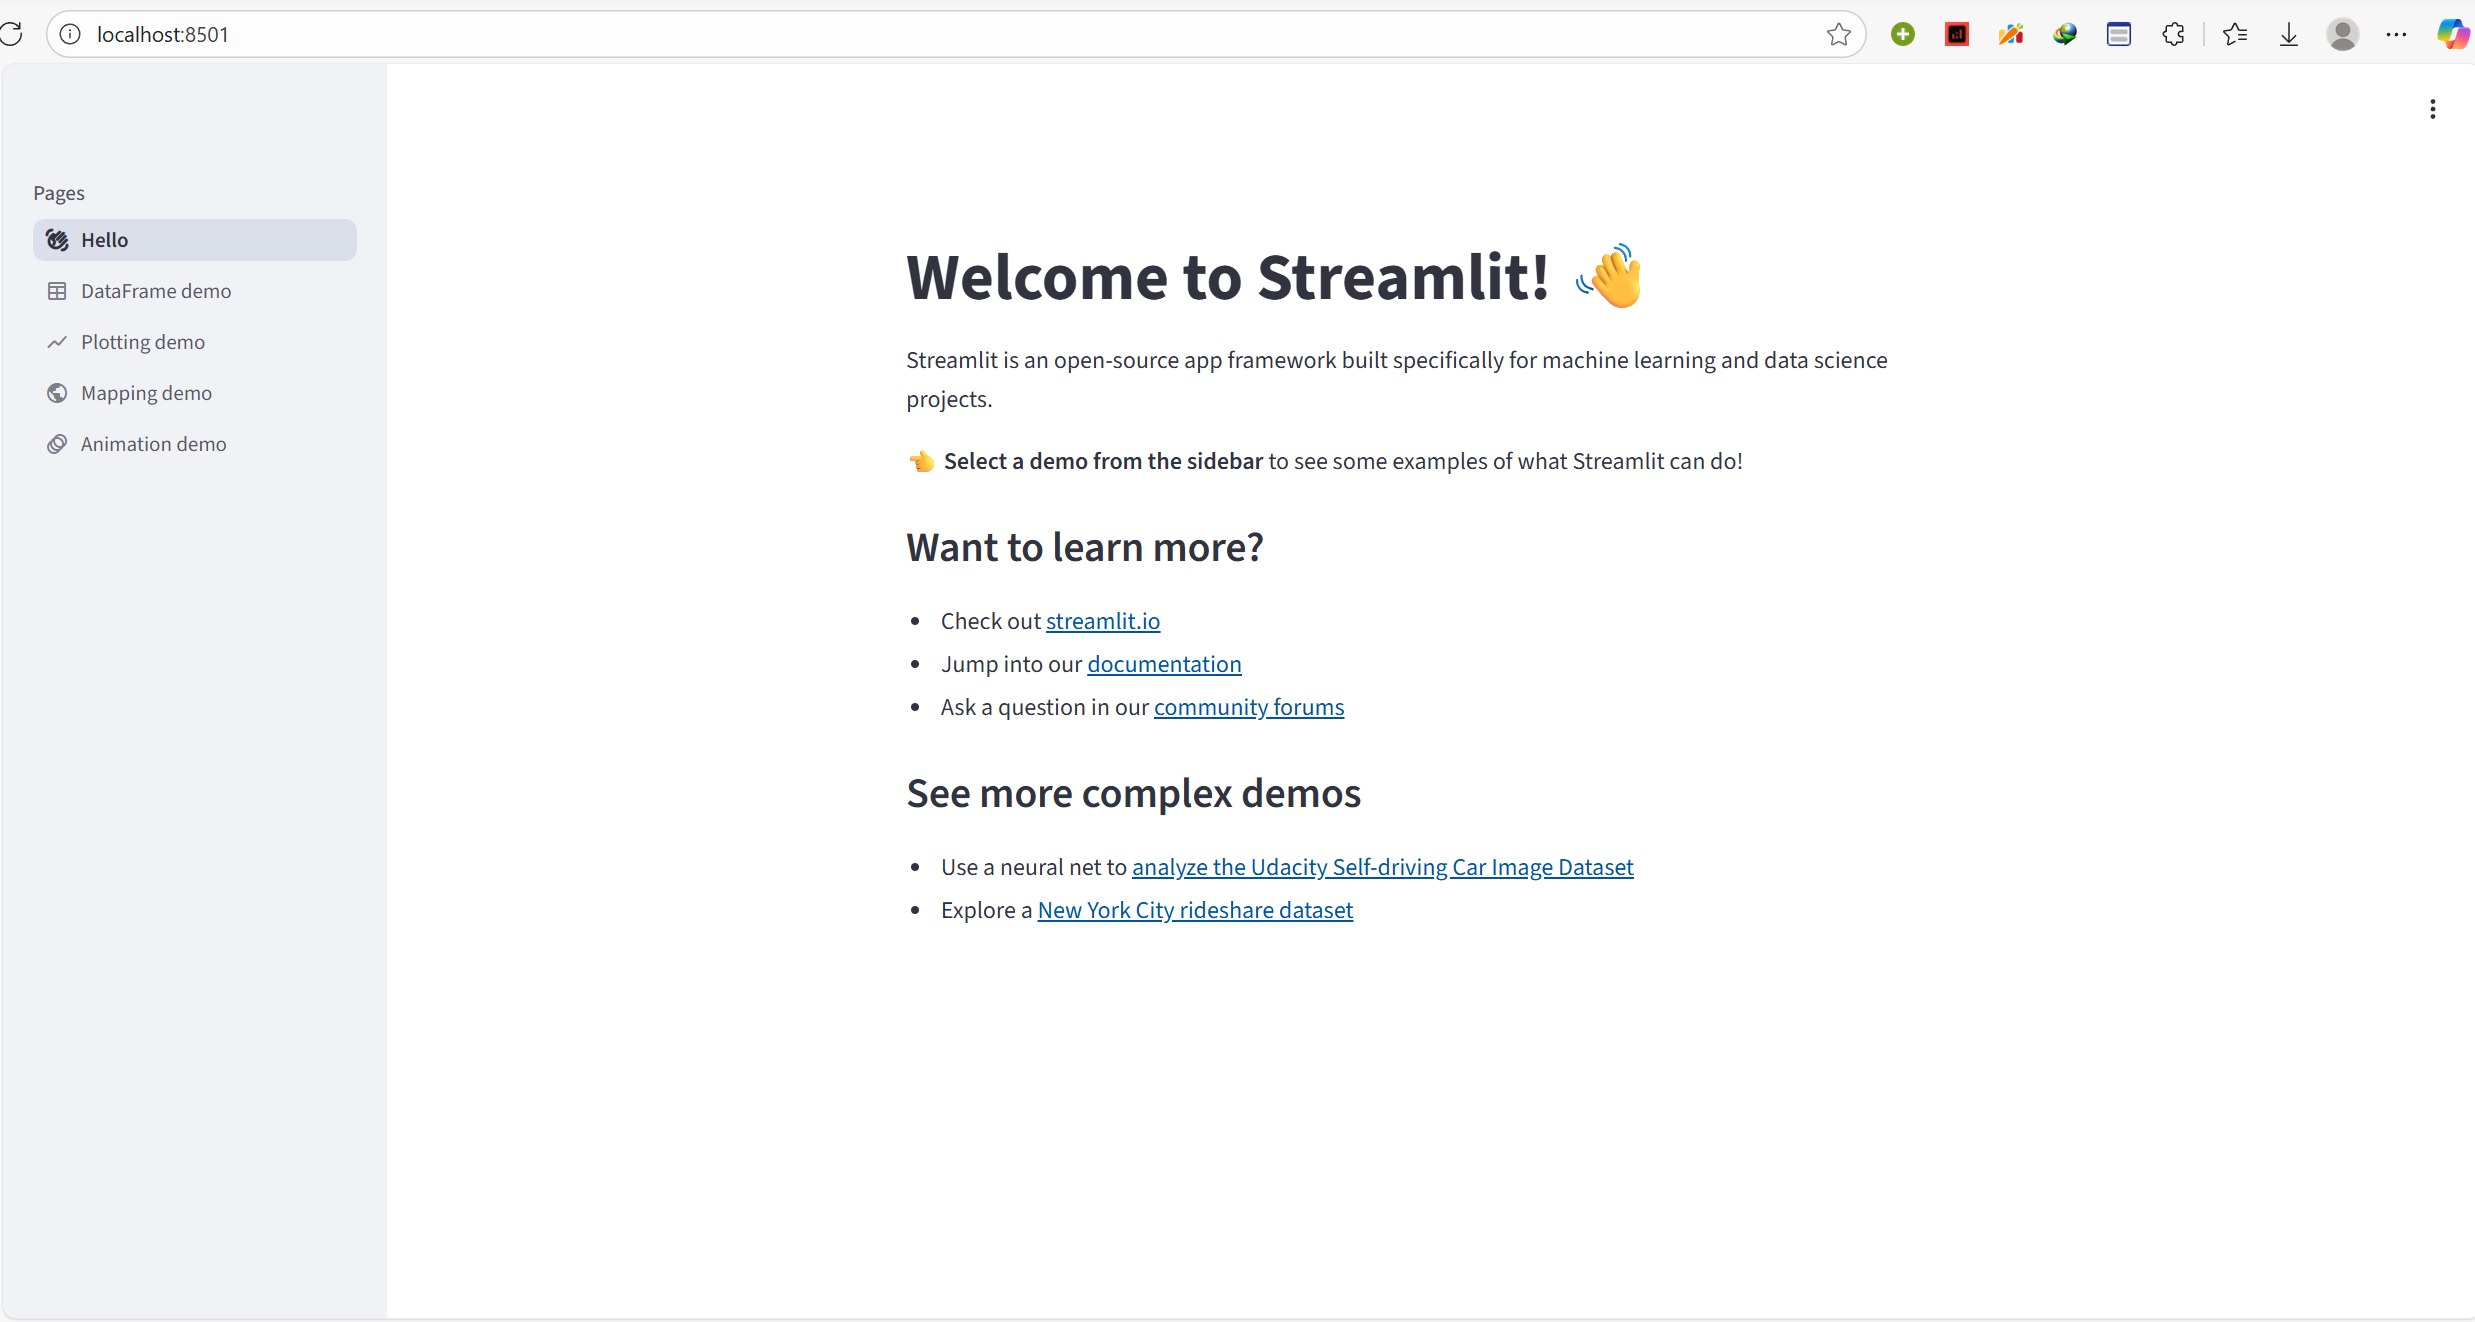
见到这个界面,说明安装成功了。
学习如何使用
我学习了这篇官方文档。
仅用18行代码,就构建了一个llm的界面。
import streamlit as st
from langchain.llms import OpenAI

st.title('🦜🔗 Quickstart App')

openai_api_key = st.sidebar.text_input('OpenAI API Key')

def generate_response(input_text):
  llm = OpenAI(temperature=0.7, openai_api_key=openai_api_key)
  st.info(llm(input_text))

with st.form('my_form'):
  text = st.text_area('Enter text:', 'What are the three key pieces of advice for learning how to code?')
  submitted = st.form_submit_button('Submit')
  if not openai_api_key.startswith('sk-'):
    st.warning('Please enter your OpenAI API key!', icon='⚠')
  if submitted and openai_api_key.startswith('sk-'):
    generate_response(text)
我们只需要在此基础上进行改进即可。
构建app.py
侧边栏
首先,由于需要在网页上展示,肯定不能使用我们本地.env文件中的api_key,因此我们需要放一个侧边栏来让用户填写api_key和base_url。
st.sidebar.title("🔑 配置 API")
st.sidebar.markdown("密钥不会被存储,仅用于当前会话。")

api_key_input = st.sidebar.text_input(
    "API Key",
    type="password", # 使用 type="password" 来隐藏密钥
    help="输入你的 API Key (例如 sk-...)"
)

base_url_input = st.sidebar.text_input(
    "Base URL",
    value="https://www.dmxapi.cn/v1", # 给个默认值
    help="输入你的 API Base URL"
)
这时就得同步修改后端的逻辑了,之前都是写死的,现在得传参才行。简单来说就是在__init__时传入这两个参数,然后建立self.llm或self.problem_strategy/self.solution_strategy,此处就略去了。
主界面
先检查是否填写了api_key,如果没有那就不显示后续界面。
st.title("🦜🔗 Luogu Agent")

@st.cache_resource
def get_analysis_agent(api_key, base_url):
    print(f"--- [Streamlit] 正在尝试初始化 AnalysisAgent... ---")
    return AnalysisAgent(api_key, base_url)

analysis_agent = None
if api_key_input and base_url_input:
    try:
        analysis_agent = get_analysis_agent(api_key_input, base_url_input)
    except Exception as e:
        st.error(f"🚫 Agent 初始化失败: {e}")
        st.warning("请检查侧边栏的 API Key 和 Base URL 是否正确。")
        st.stop()
else:
    st.info("👈 请在左侧边栏输入 API Key 和 Base URL 来启动应用。")
    st.stop() # 如果没提供密钥,就停在这里,不显示后续界面
如果已经填写完了,那么就展示题目输入框。
problemid = st.text_input("输入洛谷题目 ID (例如: P1238)", "P1238")
接下来,做一个开始分析的按钮,并写出主要的逻辑:
- 我们需要一个异步的状态栏,等待爬虫返回题目和题解。
- 我们需要调用LLM,生成详细的题解和代码。这里为了防止用户等太久,还需要流式输出。
- 解析模型给出的json文件,并生成markdown进行展示
if st.button("🚀 开始分析"):
    if not problemid:
        st.warning("请输入题目 ID")
        st.stop()

    # [!] 核心:这是我们的“舞台”,所有内容都会在这里更新
    placeholder = st.empty()

    raw_crawler_data = {}

    # --- 1. 爬虫 (处理异步) ---
    try:
        with st.status(f"🔍 正在爬取 {problemid} 题目和题解...", expanded=True) as status:
            brouser_config = BrowserConfig(headless=True, proxy=None)

            async def crawl_main():
                async with AsyncWebCrawler(config=brouser_config) as crawler:
                    agent = LuoguCrawlerAgent(api_key_input, base_url_input, crawler, cache_dir=CACHE_DIR)
                    st.write(f"正在抓取 {problemid}...(第一次抓取可能需要较长的时间⏳)")
                    data = await agent.run(problemid, max_solutions=3)
                    st.write("✅ 抓取完成")
                    return data

            # 在同步的 Streamlit 回调中运行异步爬虫
            raw_crawler_data = asyncio.run(crawl_main())
            status.update(label="爬取成功!", state="complete")

    except Exception as e:
        placeholder.error(f"爬虫阶段失败: {e}")
        traceback.print_exc() # 打印到终端
        st.stop()

    # --- 2. 检查爬虫数据 ---
    problem_data = raw_crawler_data.get("problem", {})
    solutions_data = raw_crawler_data.get("solutions", [])
    if "error" in problem_data or not problem_data:
        placeholder.error(f"爬虫未获取到有效数据: {problem_data.get('error', '未知错误')}")
        st.stop()

    # --- 3. 构建提示 & 调用 LLM (流式) ---
    placeholder.info("🧠 正在调用 LLM...")

    try:
        # [!] 调用 Agent 的“零件”
        system_prompt, user_prompt = analysis_agent._build_prompts(problem_data, solutions_data)

        # [!] 直接访问 agent 的 llm 属性来获取流
        stream = analysis_agent.llm.chat.completions.create(
            model="glm-4.6",
            messages=[
                {"role": "system", "content": system_prompt},
                {"role": "user", "content": user_prompt}
            ],
            thinking={"type": "disabled"},
            stream=True
        )

        full_content = ""
        stream_display = "" # 这是流式展示给用户的

        for chunk in stream:
            if not chunk.choices: continue
            delta = chunk.choices[0].delta
            if hasattr(delta, 'content') and delta.content:
                full_content += delta.content
                stream_display += delta.content
                placeholder.write(stream_display + "▌")

        # 流式结束,显示完整 JSON
        placeholder.code(full_content, language="json")
        st.success("✅ LLM 流式响应接收完毕")

    except Exception as e:
        placeholder.error(f"LLM 调用失败: {e}")
        traceback.print_exc()
        st.stop()

    # --- 4. 解析 & 覆盖 ---
    with st.spinner("正在解析结果并生成报告..."):
        # [!] 复用 Agent 的解析和提取“零件”
        extracted_str = analysis_agent._extract_json_string(full_content)
        parsed_data = analysis_agent._parse_to_dict(extracted_str)

        if parsed_data:
            # [!] 用我们前端的辅助函数生成 Markdown
            final_md = build_markdown_from_data(problemid, parsed_data)

            # [!] 关键:用 Markdown 覆盖掉 placeholder 里的 code
            placeholder.markdown(final_md)

            try:
                analysis_agent._save_json_result(problemid, parsed_data)
                analysis_agent._save_markdown_result(problemid, parsed_data)
            except Exception as e:
                st.warning(f"保存文件时出错 (但不影响显示): {e}")

        else:
            # 解析失败
            st.error("❌ 无法解析 LLM 的 JSON 响应。")
            analysis_agent._save_error(problemid, full_content)
            # 此时 placeholder 里仍然显示的是完整的原始 JSON,方便调试
部署
在虚拟环境中,运行:
pip freeze > requirements.txt
导出python依赖,并删掉其中所有含有 @file:/// 的包,这些是本地的,streamlit云端不认识。
由于playwright浏览器运行可能还需要一些系统库,需要写入packages.txt中:
libnss3
libnspr4
libdbus-1-3
libatk1.0-0
libatk-bridge2.0-0
libcups2
libdrm2
libatspi2.0-0
libxcomposite1
libxcursor1
libxdamage1
libxfixes3
libxrandr2
libgbm1
libxkbcommon0
libpango-1.0-0
libcairo2
libgdk-pixbuf2.0-0
libgtk-3-0
上面的步骤都完成后,发现依然不行,还需要运行 playwright install。而streamlit好像不提供终端,因此选择在 app.py 的开头调用 subprocess 尝试安装,发现居然成功了。
@st.cache_resource
def install_playwright():
    """
    一个只运行一次的函数,用于在 Streamlit Cloud 启动时
    安装 Playwright 所需的浏览器。
    """
    print("--- [Playwright] 正在安装浏览器... ---")

    # 我们调用 "python -m playwright install chromium"
    # "sys.executable" 确保我们用的是当前环境的 python
    command = [sys.executable, "-m", "playwright", "install", "chromium"]

    try:
        # 运行命令
        result = subprocess.run(
            command,
            stdout=subprocess.PIPE,
            stderr=subprocess.PIPE,
            text=True,
            check=True  # 如果命令失败,则抛出异常
        )
        print(f"--- [Playwright] 安装成功: {result.stdout} ---")
    except subprocess.CalledProcessError as e:
        # 如果安装失败,显示错误并停止应用
        print(f"--- [Playwright] 安装失败: {e.stderr} ---")
        st.error(f"Playwright 浏览器安装失败: {e.stderr}")
        st.stop()
    except FileNotFoundError:
        st.error("无法执行 Playwright 命令。请确保 'playwright' 在 requirements.txt 中。")
        st.stop()

install_playwright()
至此,这个项目的基本功能就算完成了🥳